So Blue Baby Boy Layout

Having a new baby boy makes me happy in many ways.  He is a great addition to our family so my husband is not surrounded by girls all the time, and now I can scrapbook for boys more.  Time to share a blue baby boy layout which features Bella’s  So Blue paper collection.

Ruby Rock-It Brands materials: Bella! So Blue collection, Faded Empire Alphabet Chipboard, Bella Florals (White, Black, Silver), Blue Mini Bella Florals, Bella Blue Butterflies, Crafters Choice Mini Hue Silver Bling, Crafters Choice Bling Rhinestone Sheet (Blue, Black, Aqua, Gold), Fundamentals Black on Kraft Alpha Sticker Sheet, Bella Distressing Tool

Ranger Distress Inkpads: Chipped Sapphire, Broken China, Salty Ocean, Peacock Feathers, Wild Honey, Scattered Straw, Antique Linen, Weathered Wood, Hickery Smoke, Black Soot, Ranger Foam Applicators

Other: white cardstock, black ribbon, coloured mists

With the Bella Distressing Tool, I have distressed the edges of a white cardstock.  I then inked the edges with the Chipped Sapphire Distress Ink and Ranger Foam Applicator.  This is then adhered onto the Reflections paper, having the pretty bokeh print peeking through.

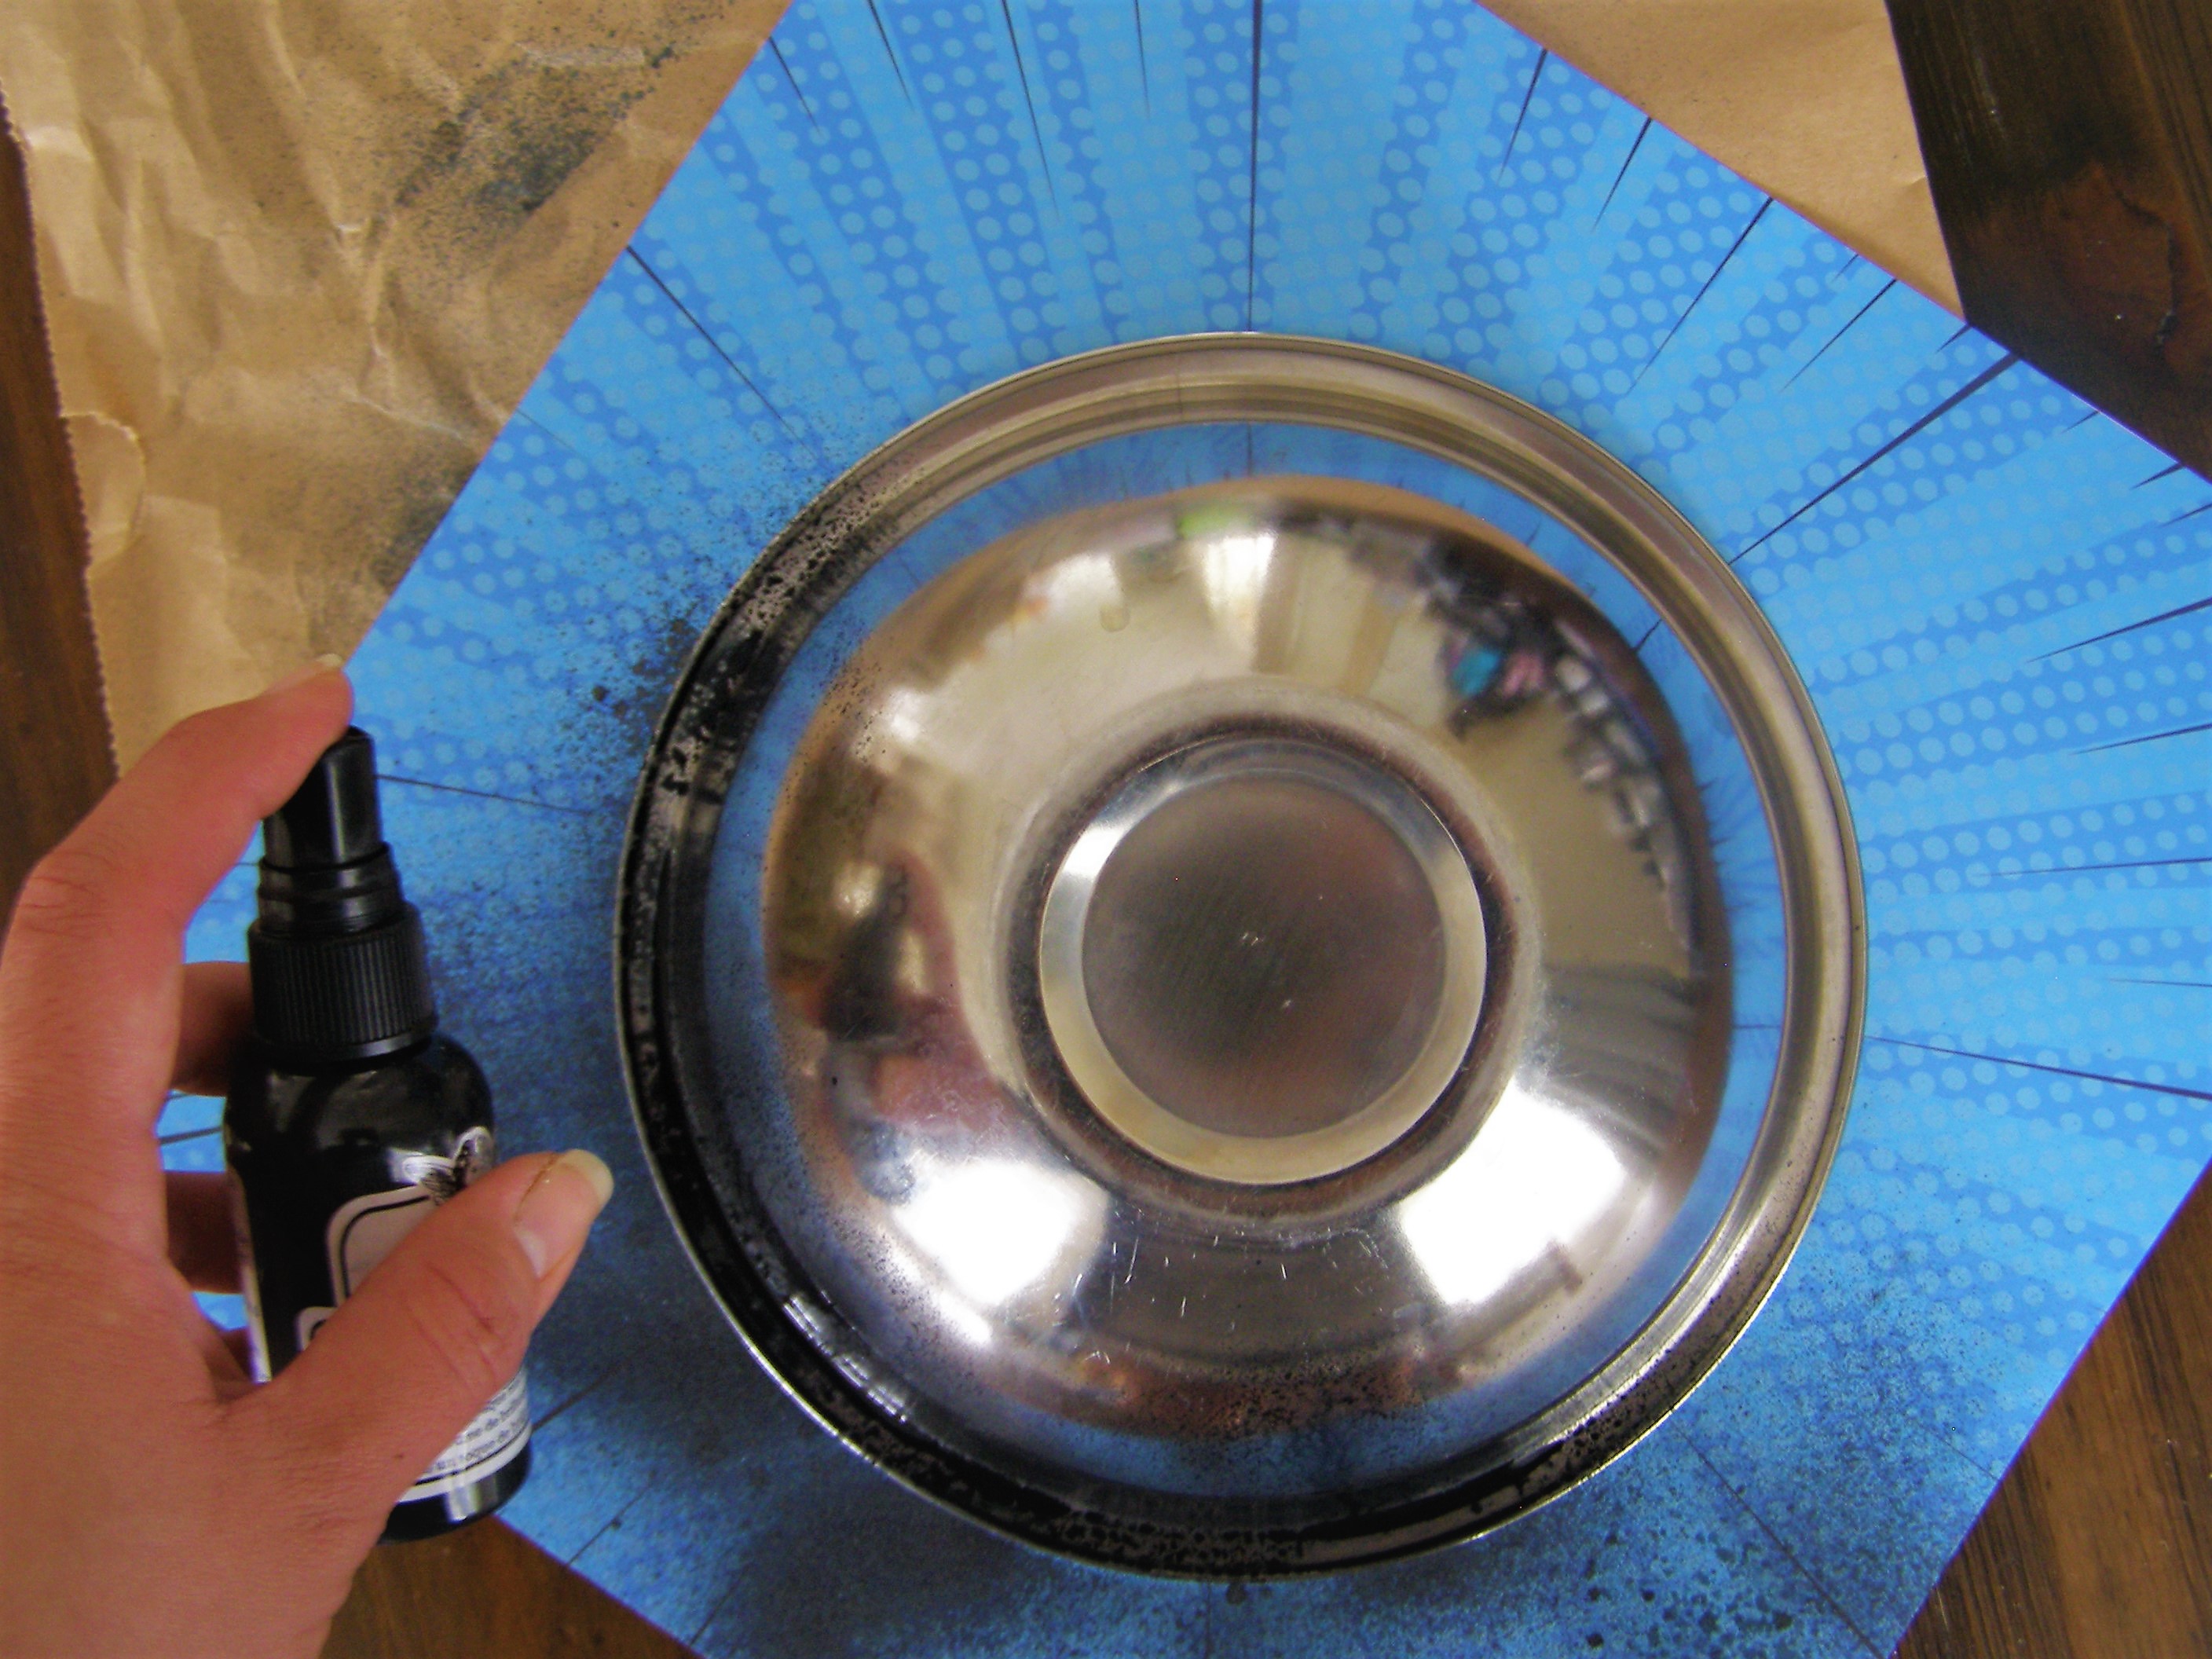
Next I positioned the Faded Empire Alpha Chipboard at the bottom of the page and spritzed a deep blue mist onto it, using these as a stencil.  Remove the alpha chipboards and wipe this clean gently with a baby wipe for future use.

I have fussy cut the night sky and scallop scales from the Cut-Ups paper and adhered this close to the photo.  I then added a cluster of Bella Florals and Bella Butterflies onto the page.  I have also framed the picture with some trimmed blue and black Crafters Choice Bling Rhinestone Sheets, altogether with the Bella Florals packaging.  I finished it all off by spritzing some light yellow mist and blending a mix of Ranger Distress Inks (see materials list above), and some bits of bling adhered around the page.

There is a variety of ways on how I like to blend colours to my layouts.  I will show you one of the easiest way which is perfect for working onto slim areas and edges.

  1. Gather your distress inkpads and foam refills.
  2. Without attaching the foam onto the applicator, apply the colour onto the foam concentrating in the middle.
  3. Blend this onto the edges, nooks, and crannies of the page.  I find this easier and more user friendly for blending slim areas compared to some sponge daubers or when foam is attached to the applicator.   This will also give you more control on how much or how little colour you want to add onto tight spaces.

I hope you find this easy tip useful for your next distress ink colour blending project.  The versatile So Blue collection is now available to purchase at a Spotlight store near you or at the Ruby Rock-It Brands website HERE, amongst the rest of the materials listed above.

Thanks for popping in.  I’ll be back with a gorgeous new Bella range, yay!

Cheers,

Written In The Stars

Every end of September I get older and wiser, and now that I have hit just over my mid-thirties I am ever so thankful and really happy with my life.  This has inspired me to scrap with some gorgeous papers and my favourite photo of my children to mark this milestone.

Ruby Rock-It Brands materials: Bella Blush Collection, Crafters Choice Spiral Flourish Clear Bling, Crafters Choice Clear Square Bling, Bella Distresser Tool

Ranger Distress Ink: Hickory Smoke, Weathered Wood, Victorian Velvet, Ranger Foam Applicator

Other: white cardstock, flowers, trims, mists

How gorgeous is the Bella Blush collection? It has a beautiful pink pallete and is great for any paperpcraft beyond wedding creations. The Quarters paper have some sentiments and images perfect for fussy cutting and layering, that has worked a treat for my title.

The sequin print of the Sparkle paper adds a touch of sparkly frame around the picture.  I have distressed this with the Bella Distresser Tool which I practically use all the time.  Having it this way also gave it a subtle sequin effect, without having to add actual sequins.

The Crafters Choice Spiral Flourish Bling are perfect for adding background texture, flourishing outwards the photo.  This is also a good alternative from a cluster for a flatter finish.

The Crafters Choice Clear Bling Squares gave a pretty starry addition which ties the page altogether.  I love how this bling come in small, medium, and large squares.  One can never have too much bling I say.  I then blended the Weathered Wood, Hickory Smoke, and Victorian Velvet Ranger Distress Inkpads onto the page with the Ranger Foam applicator to finish it off.

As I started creating this page, I cannot decide which side of the Floral paper to use.  In the end I decided to use both sides.  Here’s a quick step by step:

  1. Roughly tear the Foral paper in a slant as shown below.
  2. Fold and curl the torn side of the paper.  The floral print on the top, and the pink concrete print at the bottom.
  3. Ink all sides/edges of the papers with the Hickory Smoke Ranger Distress Ink and Foam Applictor.
  4. Adhere these onto a white cardstock and voila. Now both sides of the Floral paper are on the page.

Check out the full Bella Blush collection on the Ruby Rock-It Brands website HERE, and it is also available to purchase at a Spotlight store near you.

Thanks for popping and I hope I have inspired you to scrapbook your milestones with the Blush collection.  You will love these papers as much I do.

Cheers,

Having A Blast

As promised I am back with a fun new Bella Superhero project to share which is a mixed media layout showcasing my daughters having an awesome time.

Ruby Rock-It Brands materials: Superhero collection, Crafters Choice Bling (Adhesive Rhinestone Letters; Red Hearts, Gold Metallic Bubbles, Mini Hue Gold), Bella Distressing Tool, Fundamentals White Cardstock

Ranger Distress Inkpads: Hickory Smoke, Weathered Wood, Black Soot, Ranger Foam Applicators

Other: flowers, heart punch, string, coloured mists

As soon as I saw the Superhero Splat paper, I knew it was the perfect base for my next scrapbook page and the photo to go with it.  Perfect for both boys and girls.  I will always be inspired and never get tired scrapbooking those infectious smiles.

How cool are the puffed clouds from the Collage paper? I could not resist adding these to the page, surrounding the photo nicely.

There are plenty of words and sentiments from the Jigsaw paper to choose from which I have added to the page together with Crafters Choice gorgeous Adhesive Rhinestone Letters Bling, which come in a couple of colours and sizes.

For some girly touches, I added some flowers, punched hearts, and Crafters Choice Red Hearts Bling.  I finished it off with some inking and just a few more touches of Crafters Choice Metallic Gold Bling Bubbles and Mini Hue Gold Bling.

I have a quick and easy tutorial on how I created the circle background.  All you need is the Splat paper, a 195mm lightweight bowl, and a black or very dark blue mist.

  1. Lay the Splat paper flat on your working surface and position the bowl right on the middle of the page.
  2. Mist around the bowl and let this air dry.  You can add a big mat, big scrap paper, or newspaper underneath to keep your surface clean.
  3. Here is the finished result.  Do not touch the bowl to keep in the same position for a perfect circle.  You can add as little or as much as you want, and you can experiment with a different colour.

Remember there are no mistakes in scrapbooking, and most importantly, have fun through each process.  Check out the full range of Bella collections at the Ruby Rock-It Brands website HERE, or at a Spotlight store near you.  There is a good selection for everyone among the Superhero collection.

Thanks for popping in and I hope you enjoyed my Superhero post and tutorial.  Stay tuned for more beautiful new Bella collections next month.

Cheers,

Rockin’ The Moko

I have been itching to do some scrapbooking lately and thanks to my daughter she has given me the perfect photo for some fun scrapping.  I have mixed and matched Bella’s Graduation Mini Theme, Glittered Papers, and Ranger Distress Inkpads.

Bella materials: Graduation Mini Theme (Convocation, Fractions), Black Glittered Cardstock, Frosted Glittered Cardstock

Ranger Distress Inkpads: Salty Ocean, Broken China, Chipped Sapphire, Black Soot, Hickory Smoke, Weathered Wood, Foam Applicators

Other: Alphabet Punch, Star and Flower Punch, Flowers, Tattered Angels Mists

First I have inked some stripes with the Salty Ocean, Broken China, Black Soot, and Weathered Wood Distress inks and foam applicator from the Convocation paper.  I then folded the edges of this paper and adhered this onto a white cardstock, blending the same colours around the edges.

I then framed the photo with Bella’s Frosted Glitter Cardstock and adhered this onto the page with some dimensional tape.  Some more Salty Ocean, Broken China, and Chipped Sapphire ink has been blended around for some extra pop of colour.

For the title, I punched the alphas with Bella’s Black Glittered Cardstock and adhered them under the photo.  I have fussy cut a word out of the Fractions paper and surrounded this with a small cluster amogst the title.


As for the finishing touches, I have punched some stars and flowers to add to the page and some extra spritzing and splats of mists throughout.

Here’s how I did the big black splats:

  1. Get your black mist and straw ready.  Put a decent blob of black ink on the paper.
  2. Hold the straw and blow on the ink until it spreads out to a splat and let dry.

I am so glad to have a memory of my daughter with her Kapa Haka participation at school which she really enjoys.  This is just one of the many reasons why I love to scrapbook.

Bella Mini Themes are so versatile for any crafting themes, and these are available at a Spotlight store near you or online HERE.  Thanks for popping in.

Cheers,

Moving House


Hi there.  Today I’ve got a mixed media layout to share with you and a simple step by step on how to add some punched shapes to your background.  I have combined both of Bella’s masculine mini theme ranges with Ranger Distress ink for a fun page.

Here’s how I added the ampersand shapes onto the background:

  1. With an ampersand puncher (I’ve used Fiskars), punch out 12 ampersands through the Steamworks Odds & Ends paper.
  2. Ink the edges of each ampersand with Ranger’s Black Soot Distress Inkpad and Foam Applicator.
  3. Position each ampersand onto the Dapper segments paper, surrounding the photo and then adhere.  Layer them on top of each other for a more interesting finish.

With extra hints of sunshine colours, here’s my finished page.

Design Team CS

Ruby Rock-It Brands materials: Dapper Mini Theme, Steamworks Mini Theme, Bella Gold Florals, Fundamentals Butterlfy Embellishments, Fundamentals Black on Alpha Stickers

Ranger Distress Ink materials: Black Soot, Chipped Sapphire, Wild Honey, Foam Applicator

I’ve added some pretty Gold Bella Florals and Fundamentals Butterflies, together with an old vine flower I’ve got from my stash for the cluster which I’ve inked with the Black Soot and Chipped Sapphire Distress Inkpads and applicators.


The Fundamentals Alpha Stickers make up the title and some extra shading has been applied onto the page with the Wild Honey and Chipped Sapphire Distress Ink.  I just love this photo of my daughter and nephew when we moved to our new house.

Hope I’ve inspired you to create with Bella’s Mini Themes.  Check out all the awesome range HERE.  These are also available at a Spotlight store near you.

Cheers,

To Have & To Hold

New year has come exciting for the Ruby Rock-It Brands headquarters.  We have a selection of amazing new collections available and today I’m excited to share with you my layout featuring Bella’s Steamworks collection.

Isn’t it delicious? The possibilities are endless with this collection.  For my post today, I would like to show you a sweet and romantic layout.

Ruby Rock-It Brands materials: Bella Steamworks Collection (Clockwork, Odds & Ends, Invention); Bella Silver Glittered Cardstock; Franchville White Mini Doilies; Ruby Rock-It Christmas Cheer Alpha Chipboard


I’ve used the gorgeous Clockworks paper as the base of my layout.  The print of this paper together with the photo jump started my imagination straight away.

I trimmed some strips and images off the Invention and Odds & Ends paper and layer this onto my page amongst a couple of pretty Franchville Mini White Doilies.  I then added layers of mediums and paints to my background.

I framed the picture with Bella’s Silver Glittered Cardstock to give it a lift from the paper layers.  I then added a flower cluster by the photo to enhance the bouquet pictured.

To finish the page, I painted the Ruby Rock-It Christmas Cheer Alpha Chipboards and added this on for the sweet layout title.

I hope you like my layout as I thoroughly enjoyed the creating it.  The Steamworks collection is now available at a Spotlight store near you.  Check out the full range HERE.

I’ll be back for more Ruby Rock-It inspiration.

Cheers,


Box of Fun – Bella Nursery

I’ve been getting my fingers inky with my new baby layout featuring Bella’s new adorable Nursery collection with Ranger’s Distress Inkpads.  I always enjoy scrapping baby photos as it always takes me back to my childrens’ memories.

Bella materials: Nursery Collection, Bolt Florals, Bolt Chipboard Buttons, Gold Corrugated Cardstock, Fundamentals Alpha Wood Veneers

Ranger Distress Inkpads: Evergreen Bough, Antique Linen, Brushed Corduroy, Gathered Twigs, Weathered Wood

Other: Ranger Foam Applicator, White Cardstock, Mists, Stencils, Mediums

First I layered and stencilled my sunshine yellow mists on a white cardstock and let it set.  I then added some mediums and combined the different shades of Distress Ink on the page for depth and color.

I then framed my daughter’s photo with Bella’s Gold Corrugated Cardstock.  I love the shine and dimension of this versatile specialty cardstock.  The picture is then surrounded with some pretty golden florals from the Bolt collection.

Next I punched and fussy cut some sentiment and cute images from Bella’s Nursery paper collection, inking the edges with the Distress Ink.  I then adhered these around the page along with a gold foiled Bolt Chipboard Button.  It’s finished off with some more inking and stamping the title on the bottom of the page using the Fundamentals Alpha Wood Veneers.

I had so much fun getting creative with my daughter’s baby photo.  It’s so funny how she’s got all the toys in the world and the most fun she’s had is playing in, on, and around empty boxes.  Funny that, eh?

Check out more of Bella HERE or at a Spotlight store near you.

Cheers,

Where Heaven Has Touched The Earth

Hi there.  I’ve got a lush green layout to share with Aga Baraniak’s Compose Your Life paper collection and Tattered Angels’ paints, together it is a match made in heaven.  I just love this collection and the papers are great for adding layers of mediums.  Here is my heaven on earth layout:

Canvas Corp materials:

Compose Your Life 12×12 Paper: Be Strong
Compose Your Life 12×12 Paper: Red Flower Pieces
The Watering Can: Garden Words on Ivory Reverse Paper
12×12 E-Flute Black
Cord – Braided Cotton Rope: Bright White
Waxed Cotton Cord

Tattered Angels materials:

Glimmer Mists: Kiwi, Pistachio, It’s Brown, Graphite
Chalkboard Mist: Chalk

I generously misted the Kiwi Glimmer mist for my background with some splattering of the Graphite Glimmer Mist and Chalk Chalboard Mist.  I then lightly brushed the edges of the page with the It’s Brown Glimmer Mist.

I trimmed the sentiment off the Garden Words on Ivory Reverse Paper and fussy cut some leaves from the Red Flower Pieces paper and added these to the page.

Nothing can be more heavenly than have a perfect Spring wedding day and seeing your daughters walk down the aisle for you.  This truly was an unforgettable memory which I will forever treasure , and I’m so happy how my page turned out.

All Canvas Corp Brands’ range are available HERE.  Thanks for stopping by.

Cheers,

Mr. & Mrs. Wedding Album

It’s time for Canvas Corp Brands’ July Challenge and it’s all about Weddings.  Here is our Weding moodboard with a gorgeous summery palette:

Here is my Mr. & Mrs. Wedding album for Canvas Corp Brands’ July Wedding Challenge:

Products from Canvas Corp Brands:

7gypsies Architextures™ Vintage Ledger 12″X12″
7gypsies Architextures™ Junque Pack – Library
Canvas Corp Compose Your Life 12×12 Paper Assortment
7gypsies Architextures™ Flash Cards – Alphabet (26 pieces)
7gypsies Architextures™ Junque Pack – Parlour
Canvas Corp Main Street Collection Tags – Live Your Life
Canvas Corp 12×12 Printed Canvas Fabric – French Letters – Canvas
Canvas Corp Thickstock – Vanilla Speckle
7gypsies Tags: Affirmations
7gypsies Architextures™ Stash Pack – Enjoy

I just love the timelessness of 7Gypsies’ Architextures Vintage Ledger.  For the full blog post please follow The Creative Studio’s Link HERE.


The How to:

To enter this challenge you need to link up your entry  Blog post, or post on Instagram, Facebook or Pinterest (link to the actual project – not the whole page) by using the linkytool HERE. You have until the end of August 4 to submit your project!  All submissions must have #ccbchallenge somewhere to be considered. 1 entry per person allowed. 

We will invite the winner of the challenges to be our Guest Designer. This means that they will get a box filled with goodies from all 3 Canvas Corp Brands to play with.  For more inspiration from the team, click HERE.

We look forward to seeing your beautiful wedding creations.

Cheers,


Denim, White and Blue

Hi there.  I’m excited to share with you my mixed media layout featuring Bella’s new Red, White and Blue paper collection.  I’m a massive blue color fan and I couldn’t help but play and showcase the blue papers of this verastile collection.

Bella Materials: Red, White & Blue Collection; Silver Corrugated Specialty Paper; Something Blue 3D Stickers; Krafty Goodness Papers; Blue Bella Florals; Silver Bella Florals; Fundamentals Stars & Hearts Wood Veneer

First I’ve layered a cut out of the stripe paper on the awesome denim paper from the Red, White and Blue collection.  Family and friends who saw this layout were impressed how real the denim paper looked.

Next I added some mediums and color to the backgound with my Tattered Angels paints.  I then framed my daughter’s photo with the Bella’s metallic silver corrugated cardstock.

I then layered some pretty Bella florals with some old flowers from my stash, and pieces of dimensional stickers around the photo.  I also stamped some Fundamentals Star wooden veneer before adding it to the page for some star background action, along with some fussy cut stars from the Krafty Goodness collection.  I finished the page off with some inking and splattering on top.

I had so much fun creating this layout and I love how the dark blue papers accentuated and made the photo stand out at the same time.  If you’re looking for a denim paper, Bella’s Red, White and Blue collection has got it.  Check out all the Bella goodness HERE.

Thanks for popping in.

Cheers,